Creating a bank is the same as setting aside a cash drawer. When a bank is created, a specific amount of money is designated before the shift starts. During a shift, monies fluctuate. At the end of a shift, Bank Manager helps you reconcile monies used during the shift with the monies remaining at the end of a shift.
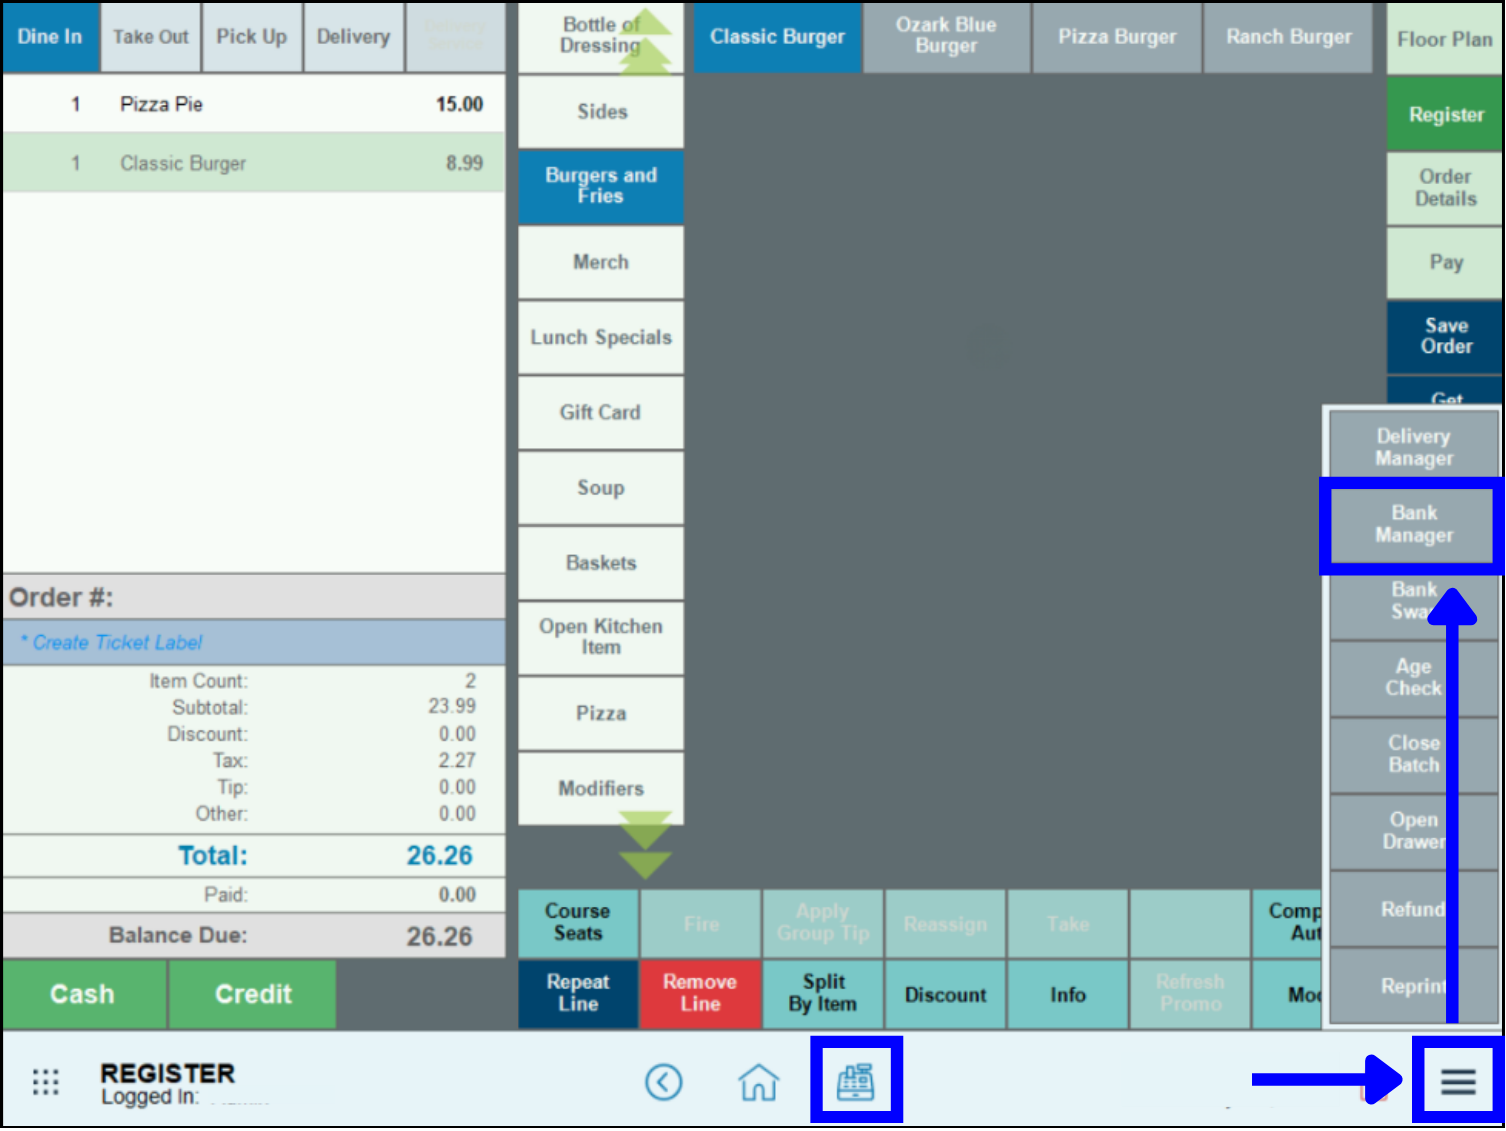
- From the Register, tap the Local Menu at the lower right of the screen.
- Tap Bank Manager.
- In the Date field, select a date that the bank will be used.
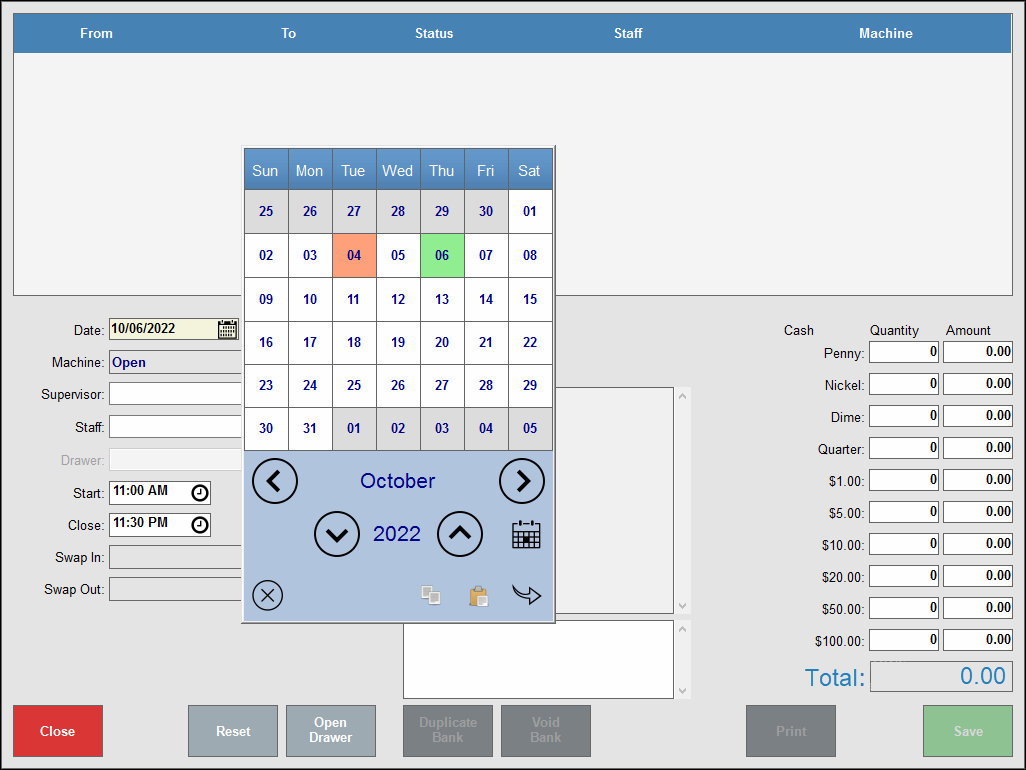
- Tip! You can plan the use of cash drawers in advance by setting up banks with future dates assigned in the Date section.
- Tap the Supervisor drop-down menu to select the supervisor who will be responsible for managing and reconciling the cash drawer.
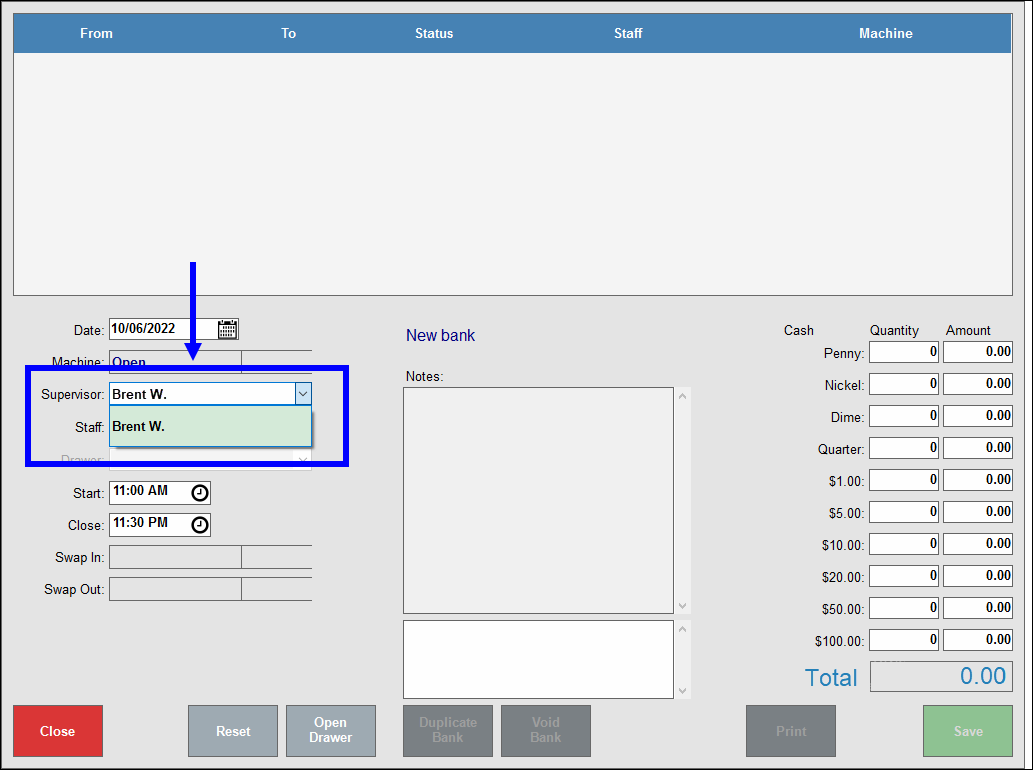
- Note: Only employees with manager status can manage a bank. Manager status is assigned as a Staff Type. See: Create Staff Types
- Tap the Staff drop-down menu and select the staff member who will be using the cash drawer.
- Note: “Supervisor” and “Staff” roles can be filled by the same person or by different people. If these roles are filled by the same person, select the same name for both “Supervisor” and “Staff”. If multiple people are using the same bank, select the staff member who closes the bank at the end of a shift.
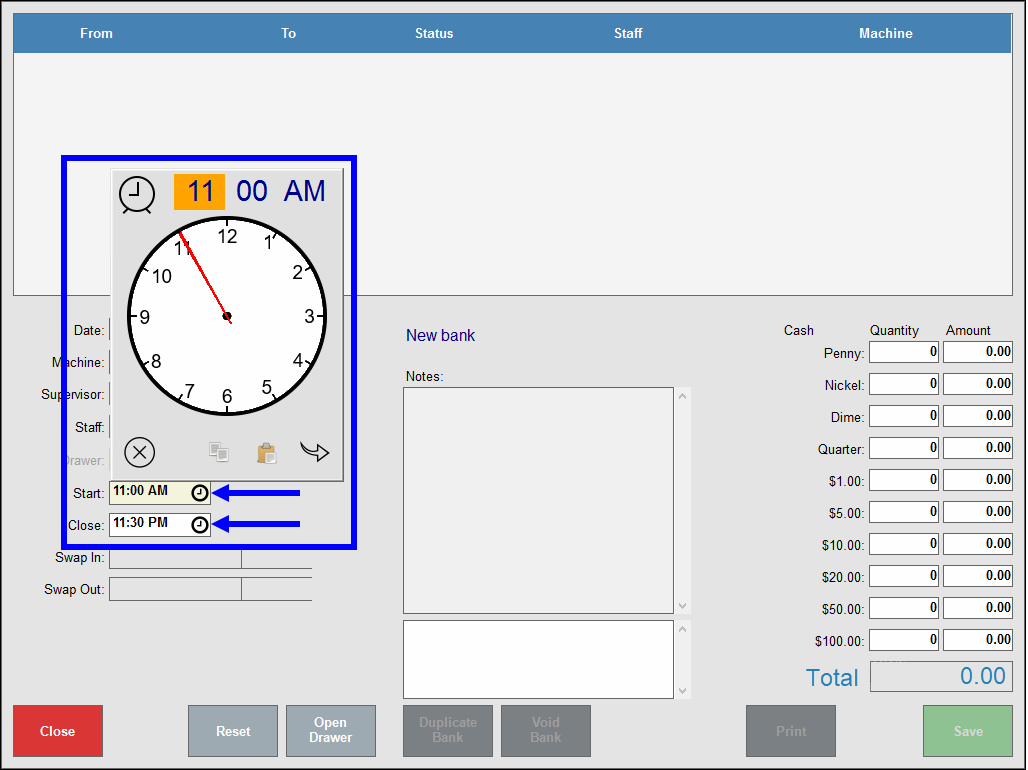
- Enter Start and Close times. This data is for reporting purposes only, indicating when a cash drawer is expected to be used. Regardless of times specified, a bank can be swapped in or out when a merchant chooses.
- Enter the cash-in drawer amounts in the desired Quantity and Amount fields. The sum of all entered values automatically populates in the Total field.
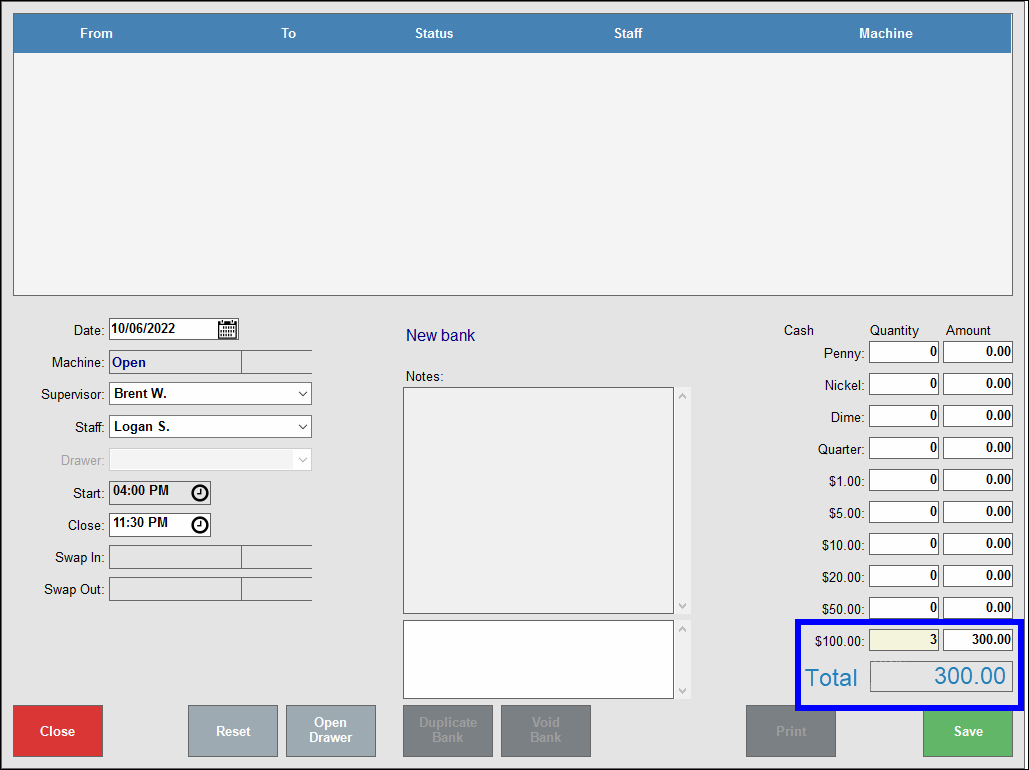
- Note: It’s not necessary to enter exact monetary denominations; just be sure that the Total amount is accurate. For example, If you stock your bank with $300, you don’t need to specify 100 1s, 5 20s, and 2 50s. Simply enter 3 100s. You can enter accurate denominations later when reconciling the cash drawer.
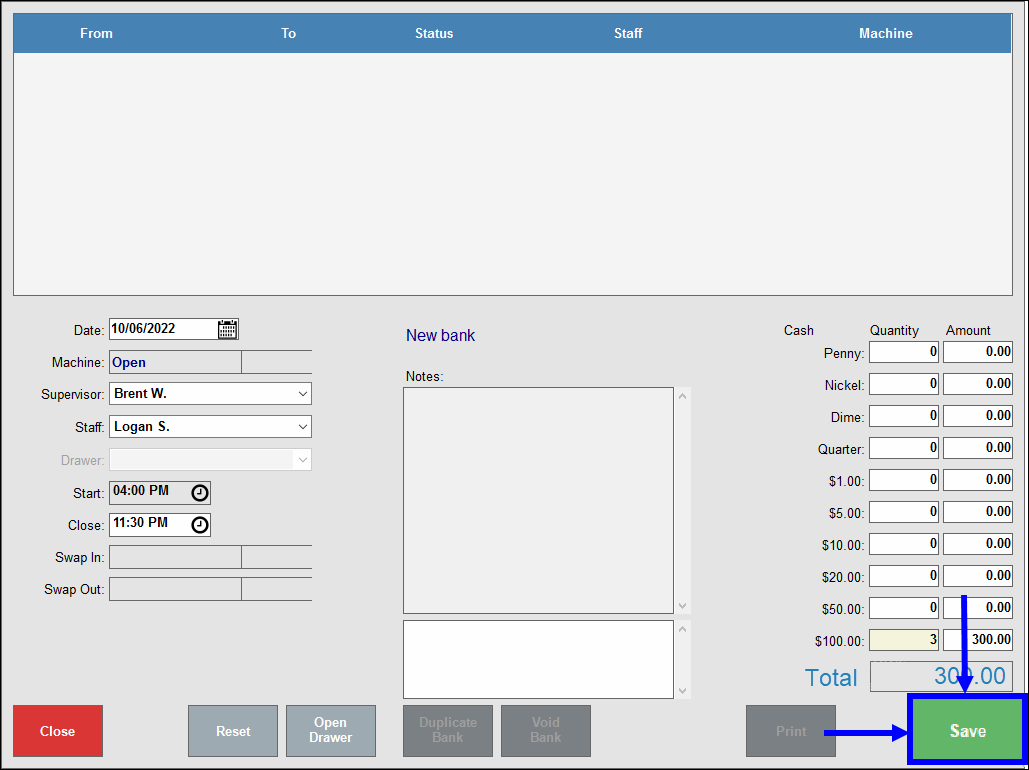
- Tap Save.
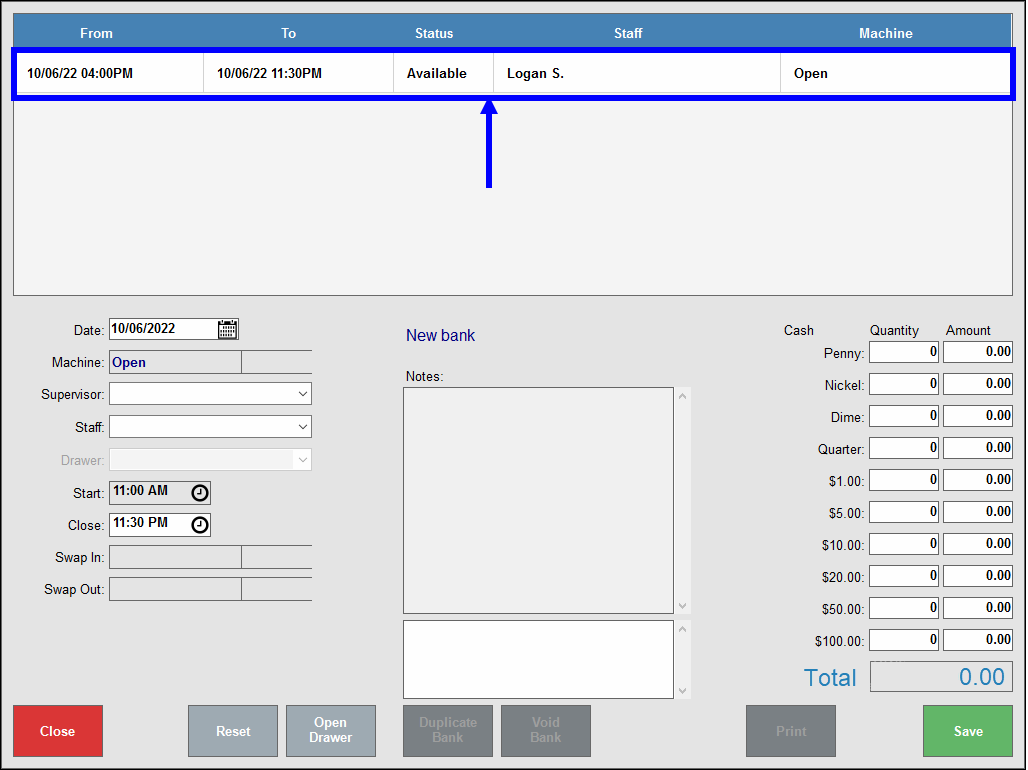
- View the new bank entry.
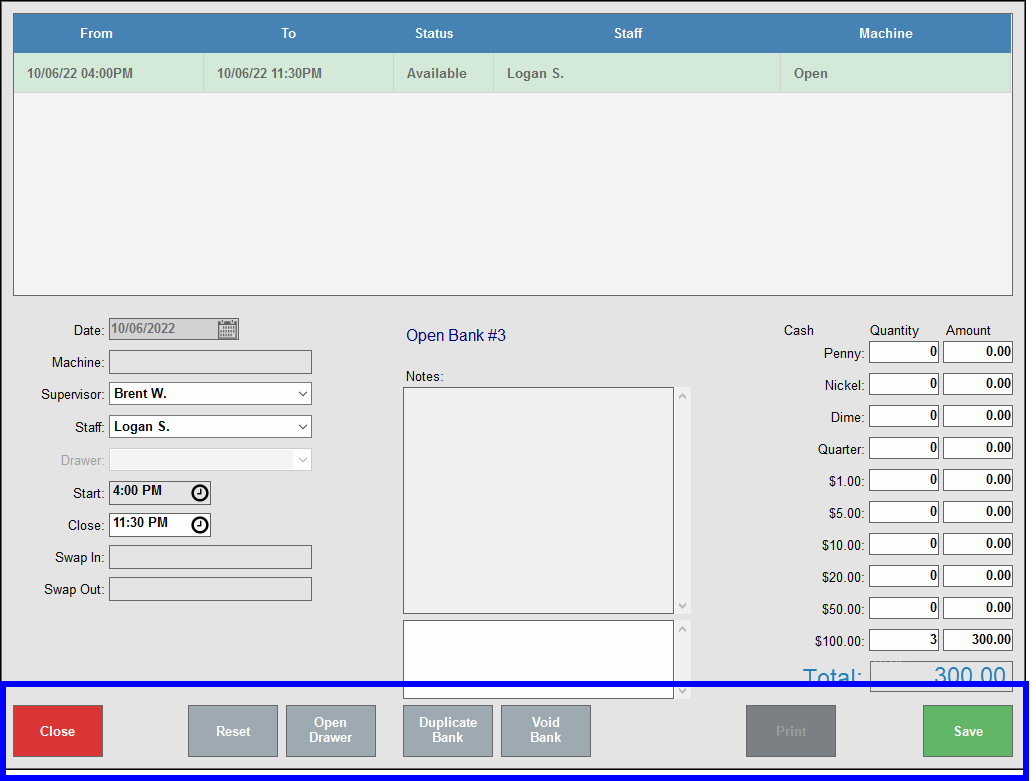
- Notes: Use this optional field to highlight any notable activity during the bank’s shift. View notes within the upper Notes window.

- Open Drawer: Select this to open a cash drawer.
- Duplicate Bank: Follow the system prompts to duplicate a bank. This saves you the effort of creating the same bank multiple times. For example, create a “Standing” bank for a full month.
- Void Bank: Void a bank entry from the list. For record keeping purposes, banks are not deleted, they are marked as VOID.
- Print: Select a bank entry to print the report to the receipt printer.
Once a bank is created, it is ready to be used during a shift. The process of engaging a bank for use is called “swapping in.”
- Next see: Swap a Bank In

How can we improve this information for you?
Registered internal users can comment. Merchants, have a suggestion? Tell us more.