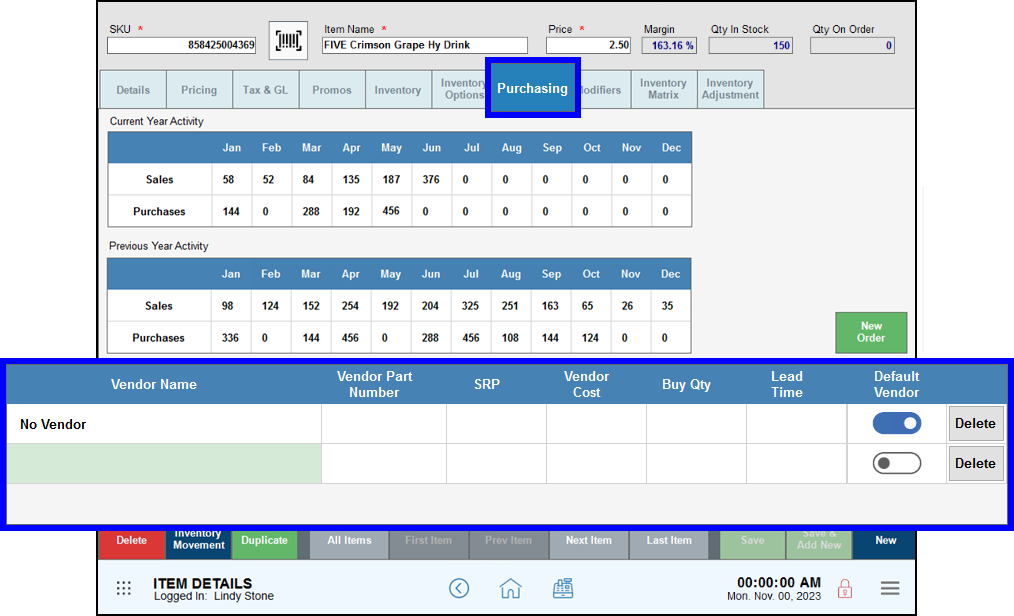
Link your items to one or more vendors, and generate Purchase Orders (PO) in Exatouch. By default, items are assigned a default vendor named No Vendor.
- From Home, navigate to Items > Item List.
- Find and tap an item to open the item’s Item Details work area.
- Tap Purchasing to open the Purchasing work area.
- Tap a blank vendor record to find or add a vendor to assign it to this item.

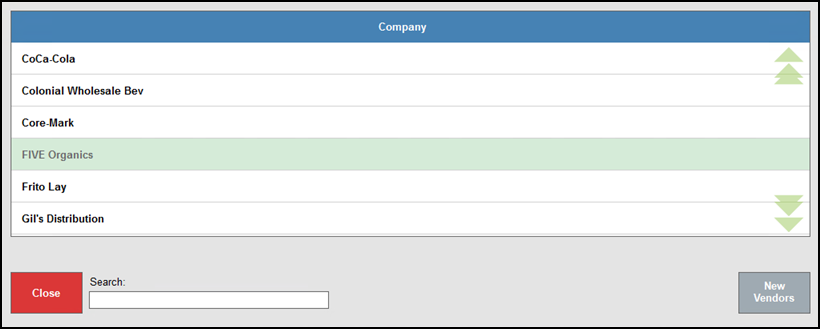
- Use the Search field or scroll to find a vendor. Tap a vendor to assign to this item.

- Tip! Optionally, tap New Vendors to add a vendor and assign to this item. See: Add a Vendor.
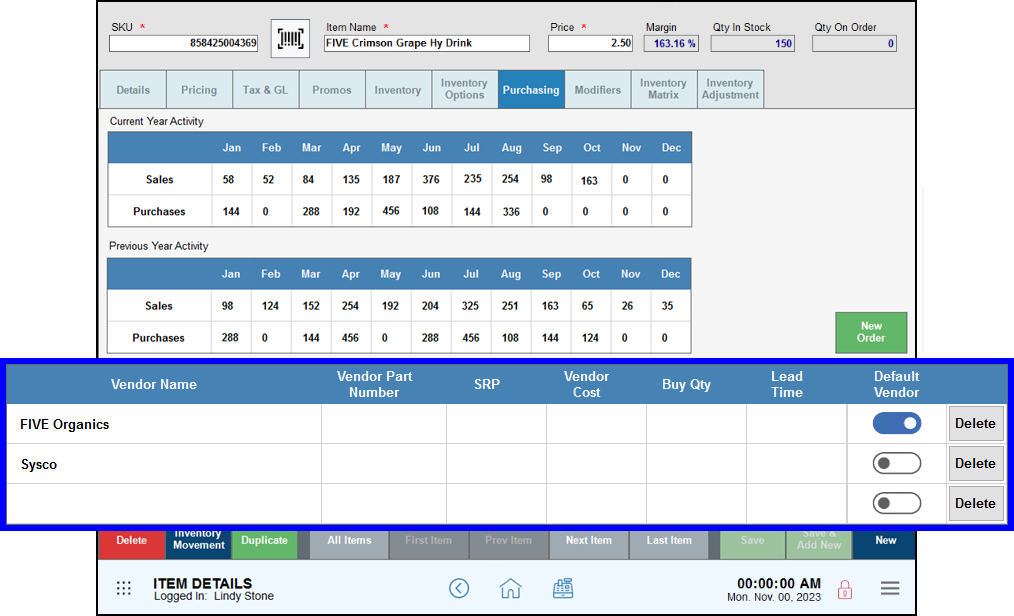
- No Vendor is replaced by your assigned vendor. The newly assigned vendor is the default. Add more vendors as needed, and enable a preferred vendor as the Default Vendor.

- Save your changes when vendor assignment is complete.
- From Home, navigate to Items > Item List.
- Find and tap an item to open the item’s Item Details work area.
- Tap Purchasing to open the Purchasing work area.
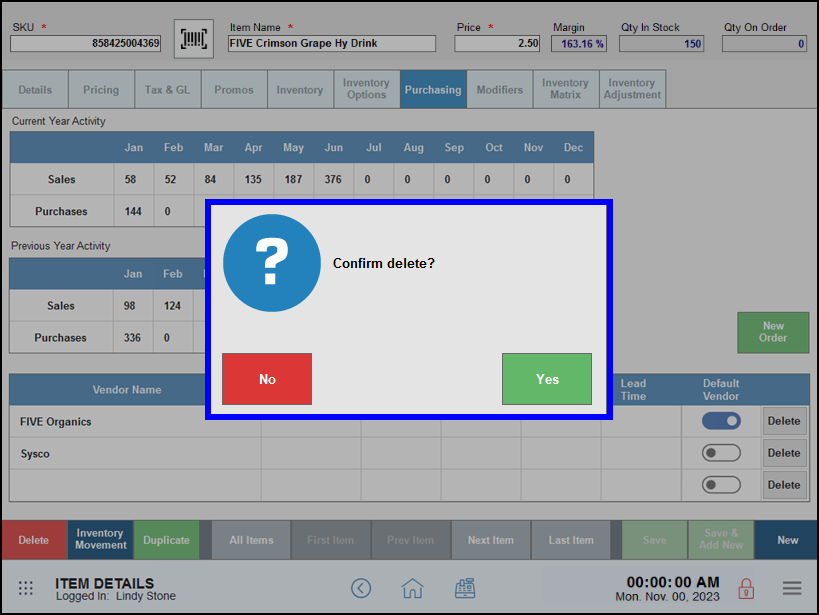
- Tap the delete button for the vendor to break the link with this vendor.

- Tap Yes to confirm your action, then Save your changes.


How can we improve this information for you?
Registered internal users can comment. Merchants, have a suggestion? Tell us more.