Appointment reminders work in conjunction with the Services module, enabling you to send appointment reminders directly from Exatouch. Send appointment reminders on the day of an appointment or several days in advance.
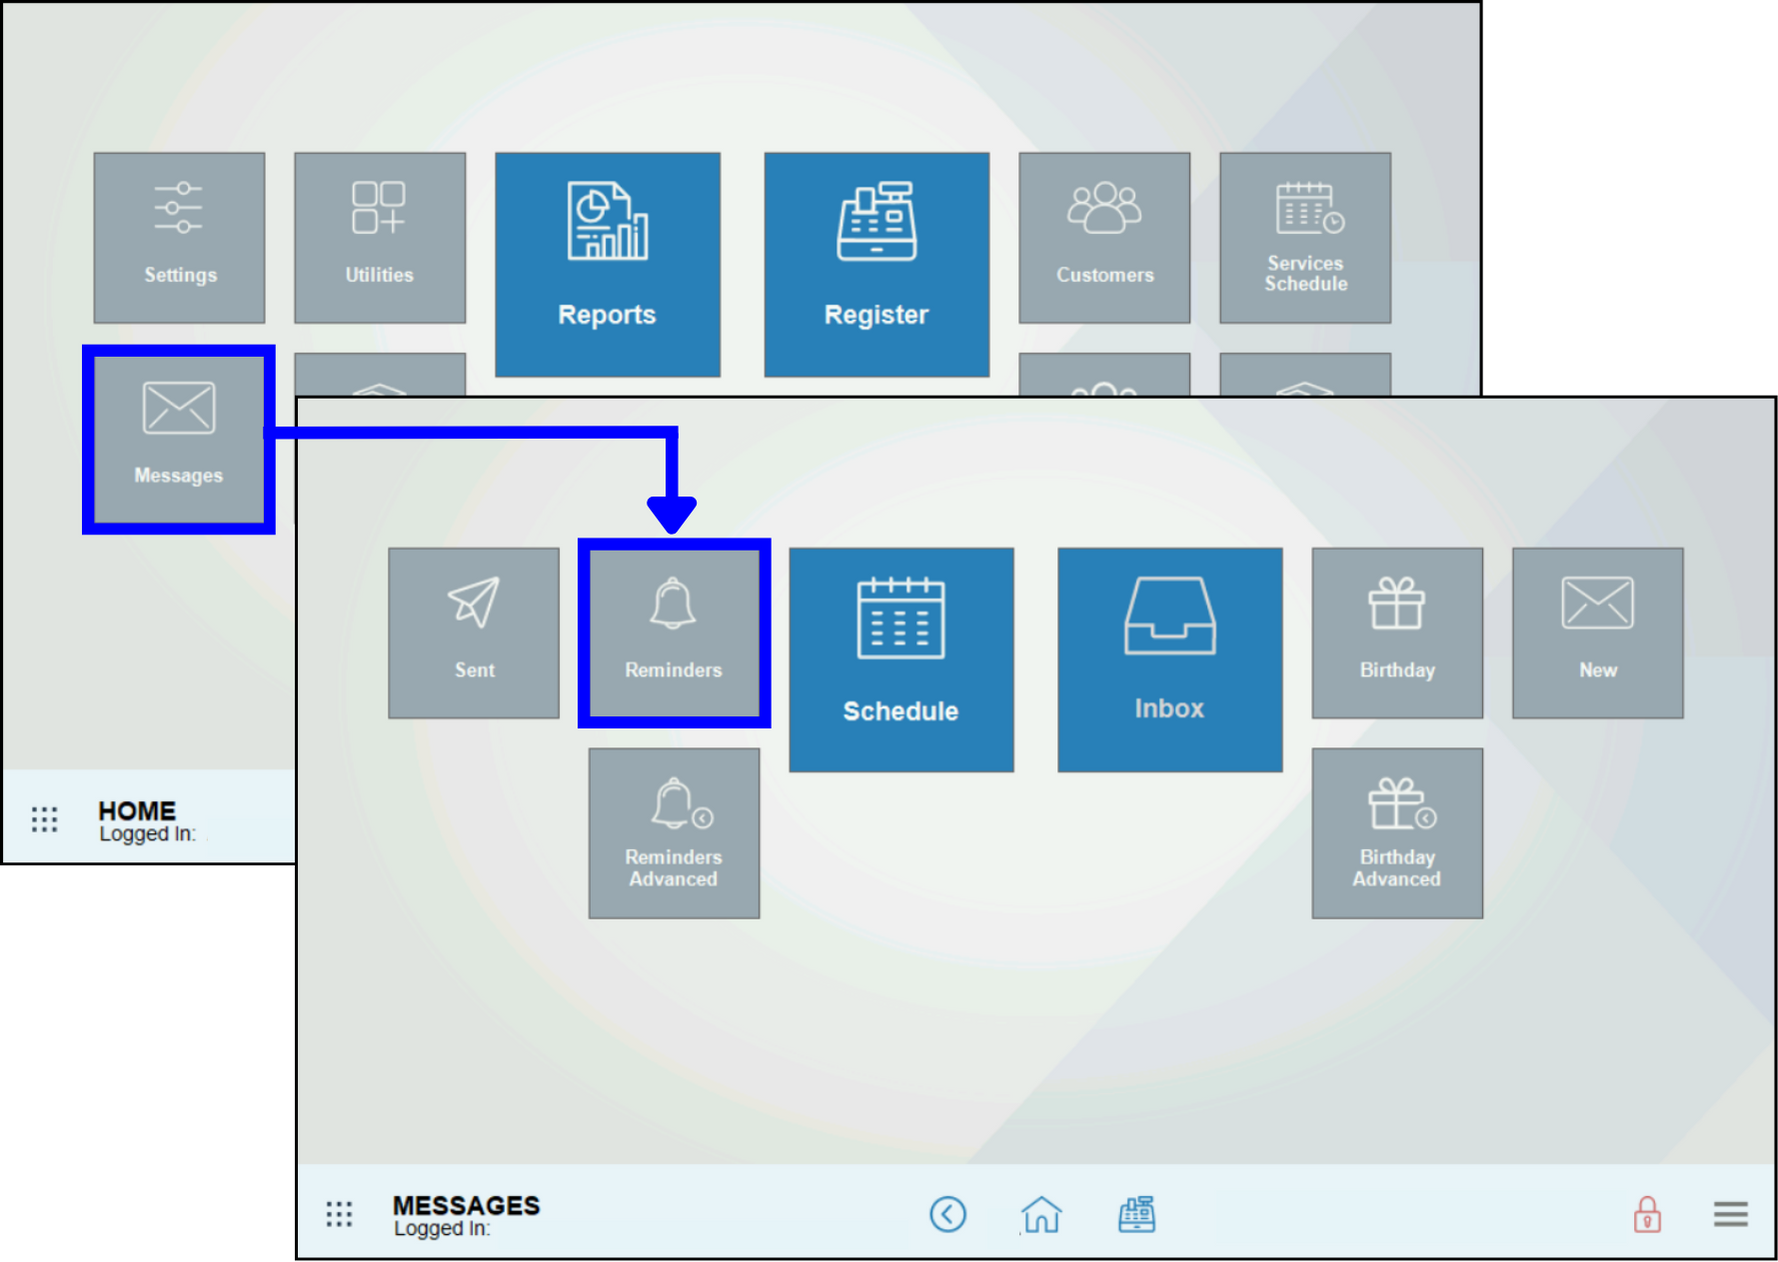
- From Home, navigate to Messages > Reminders.
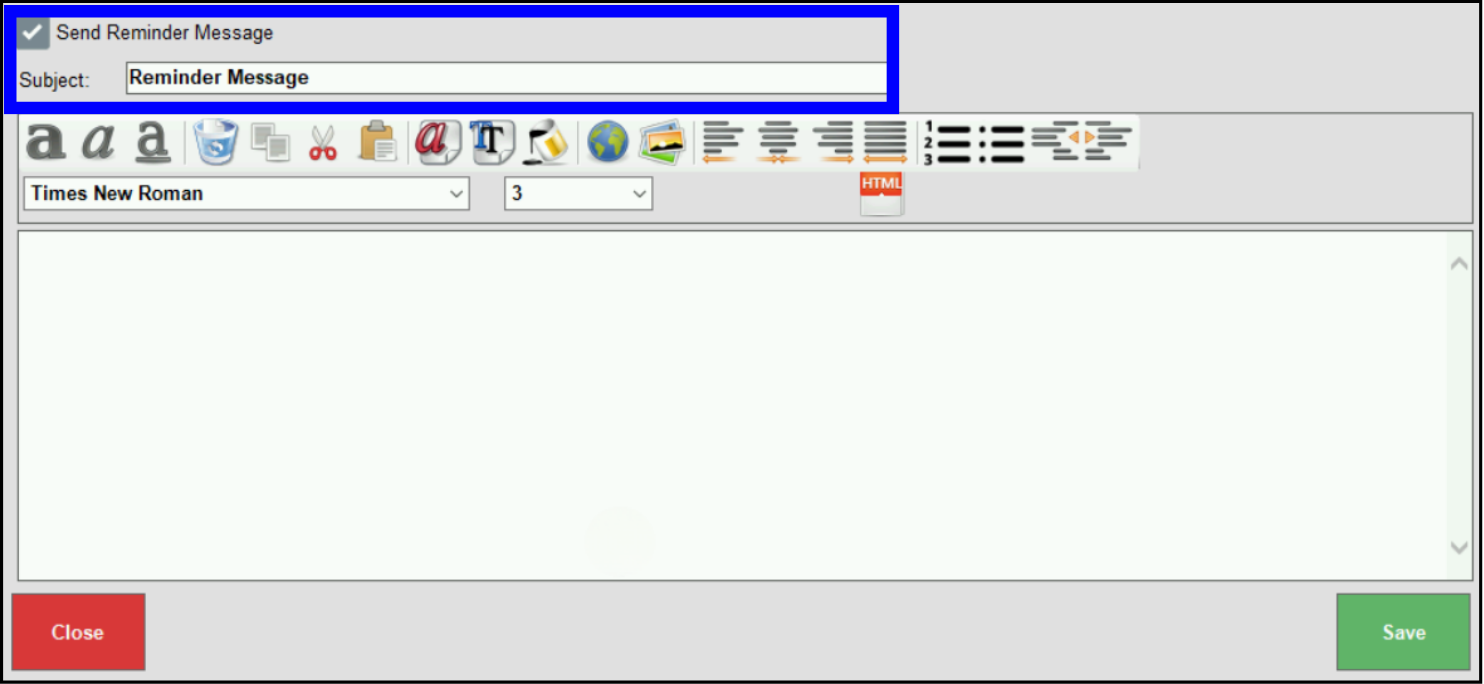
- Activate the message by selecting Send Reminder Message checkbox.
- Enter a subject for the message in the Subject: field.
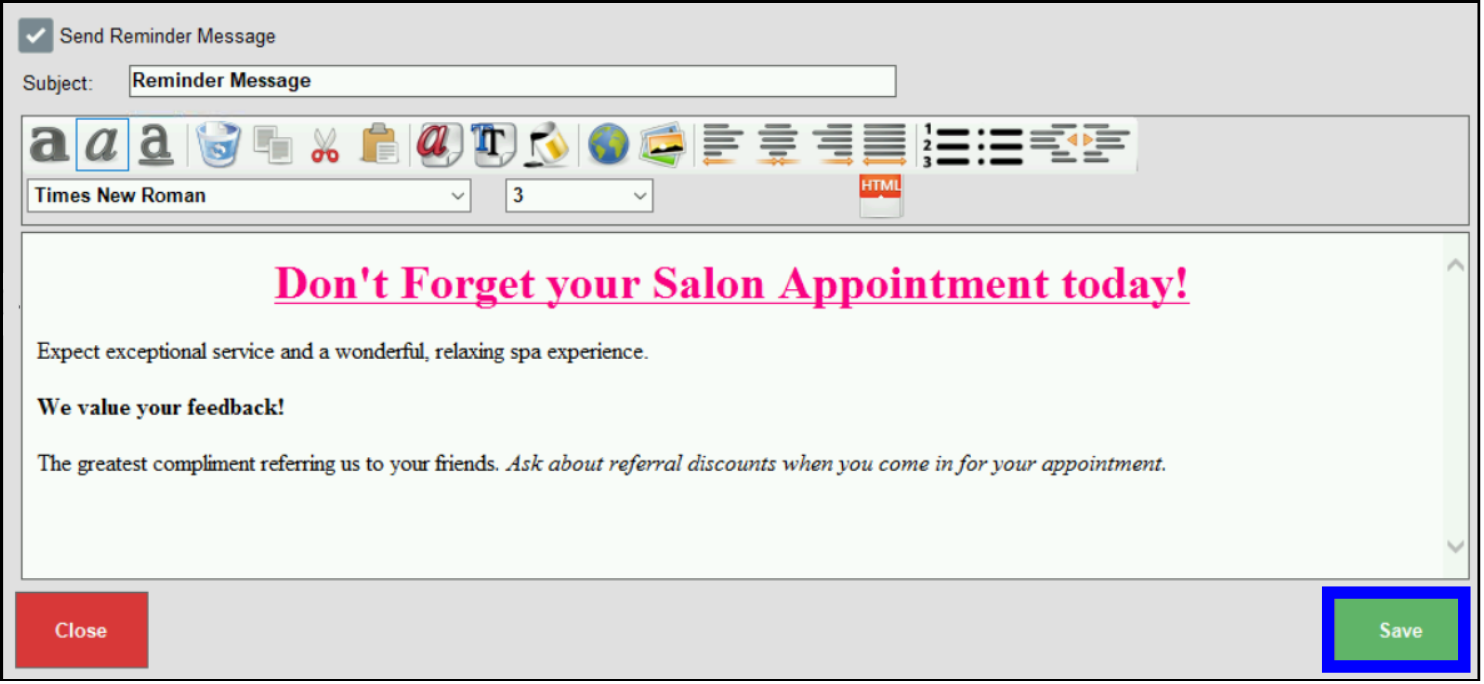
- Compose a message using the formatting tools provided.
- Note: The message editor serves as a preview of your email. The formatting displays as it will appear in the recipient’s inbox.
- Tap Save.
- Tip! Client email addresses are stored within customer records. Check your client’s Customer Detail page to confirm that you have the correct email address.
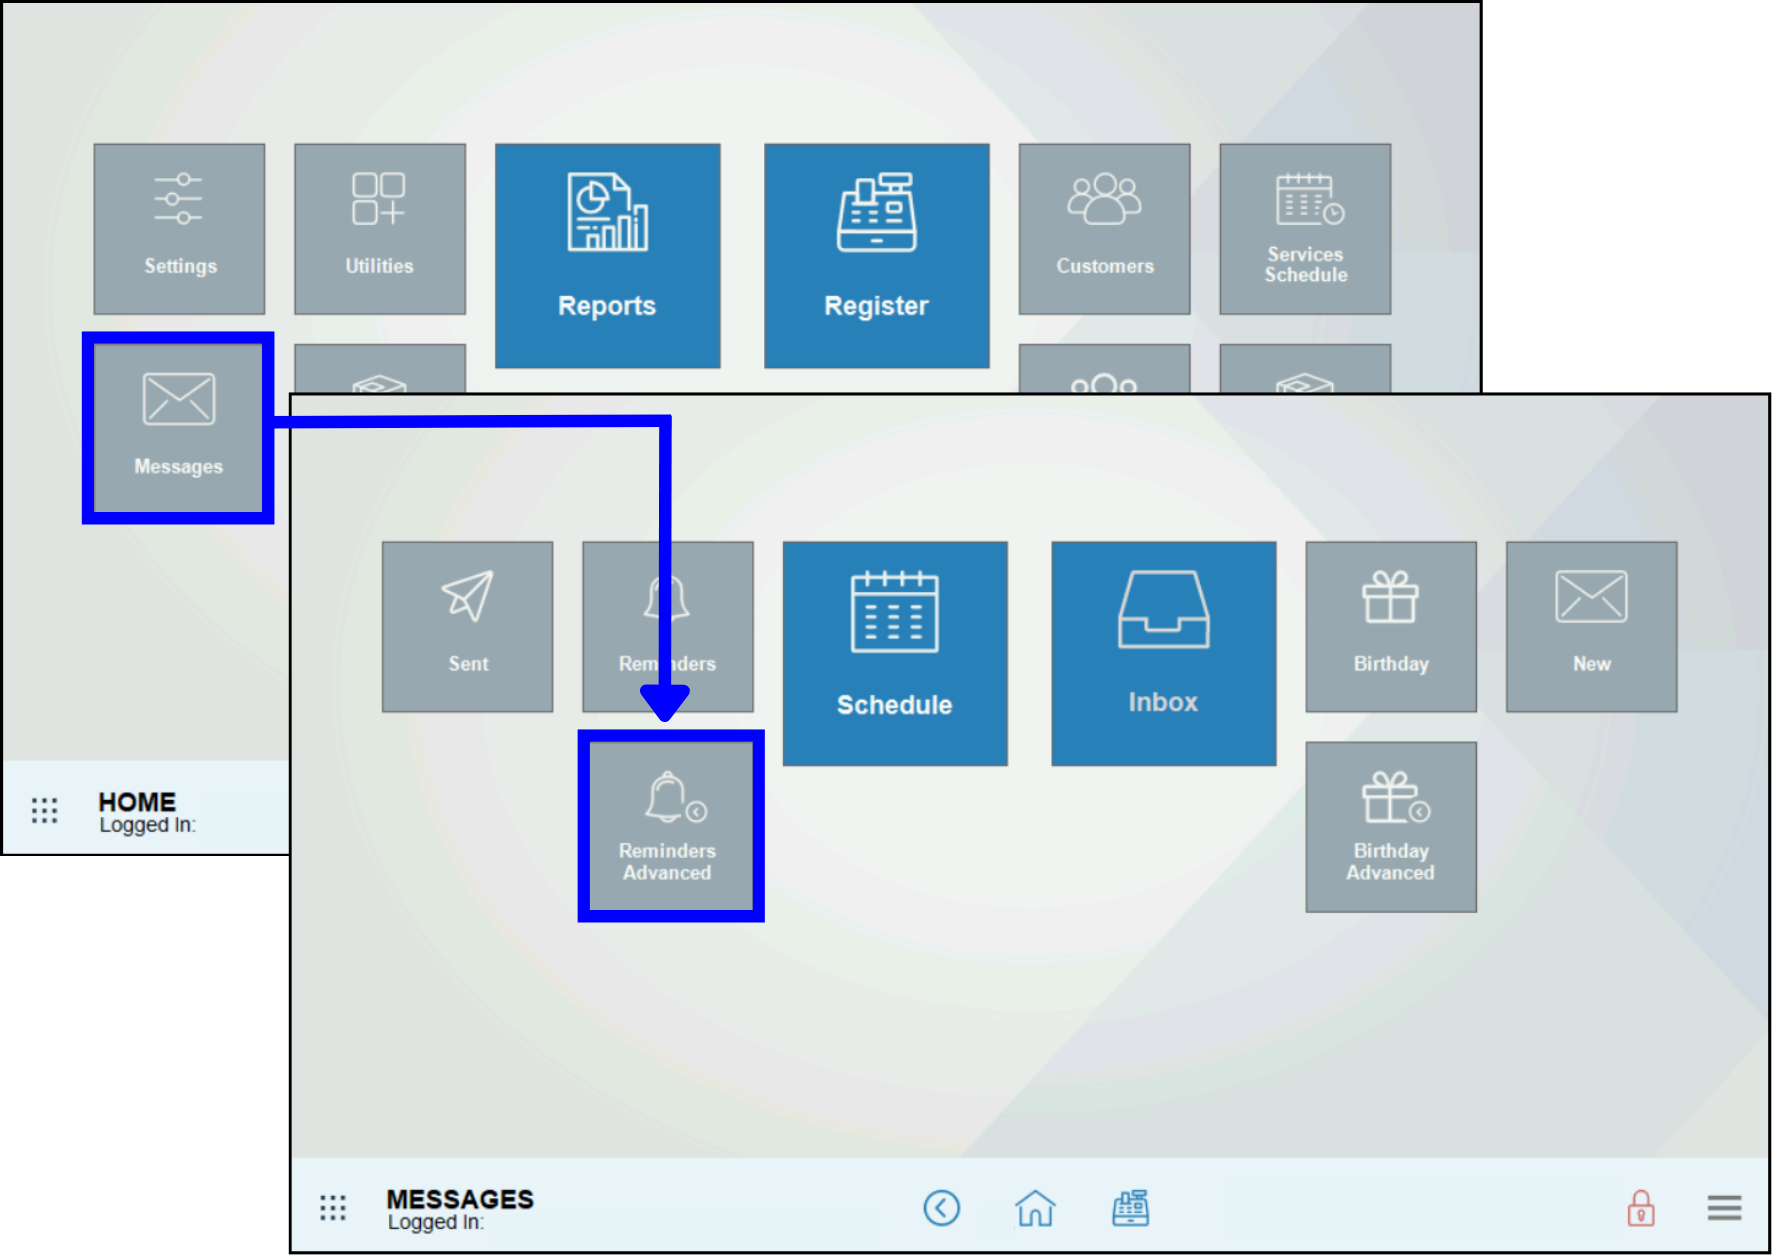
- From Home, tap Messages > Reminders Advanced.
- Activate the message by selecting the Send Advanced Reminder Message checkbox.
- Enter a subject for the message in the Subject: field.
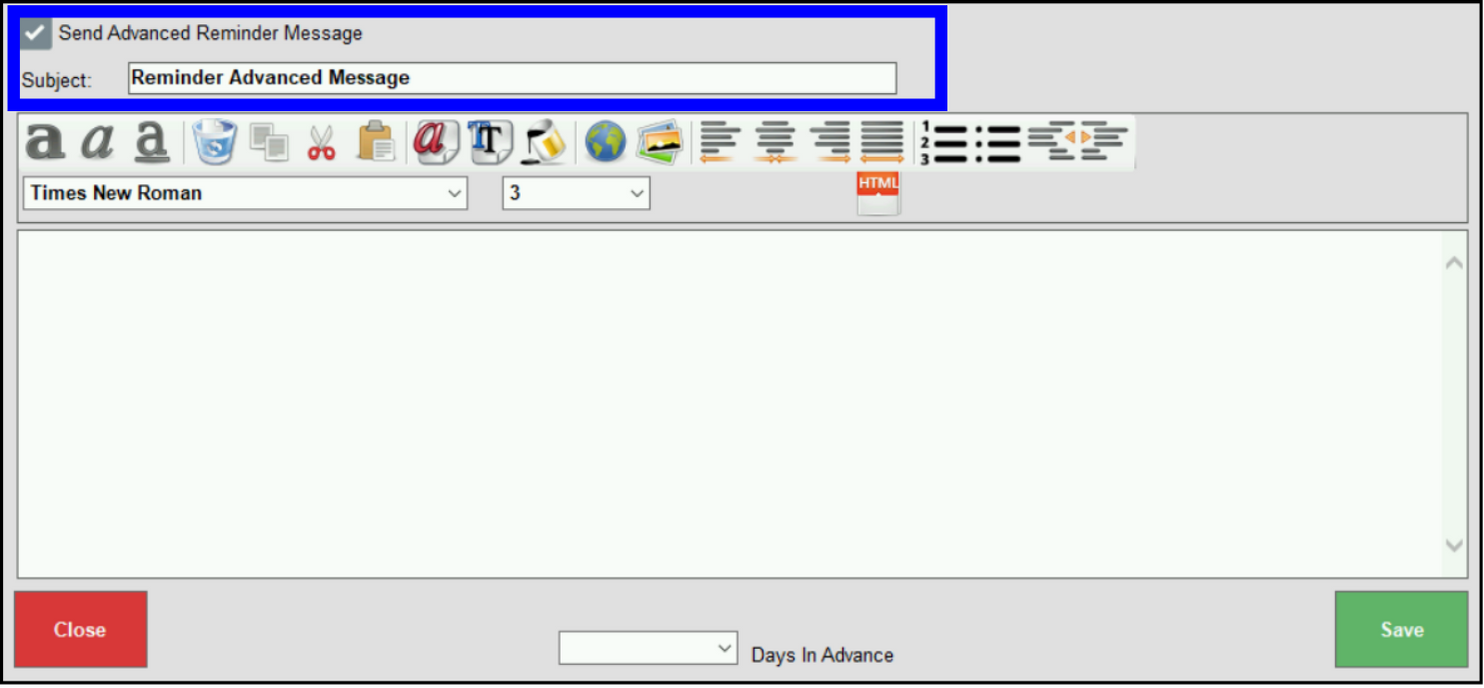
- Compose a message using the formatting tools provided in the message window.
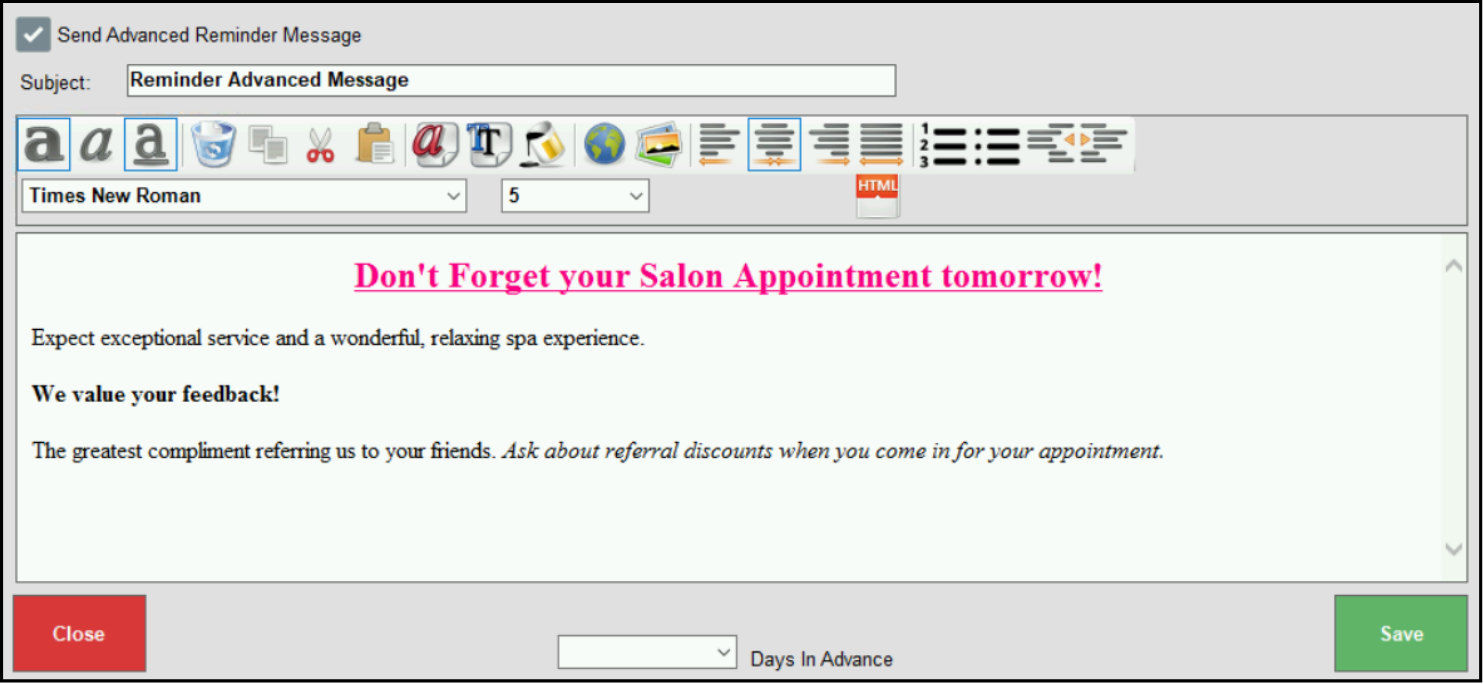
- Note: The message editor serves as a preview of your email. The formatting displays as it will appear in the recipient’s inbox.
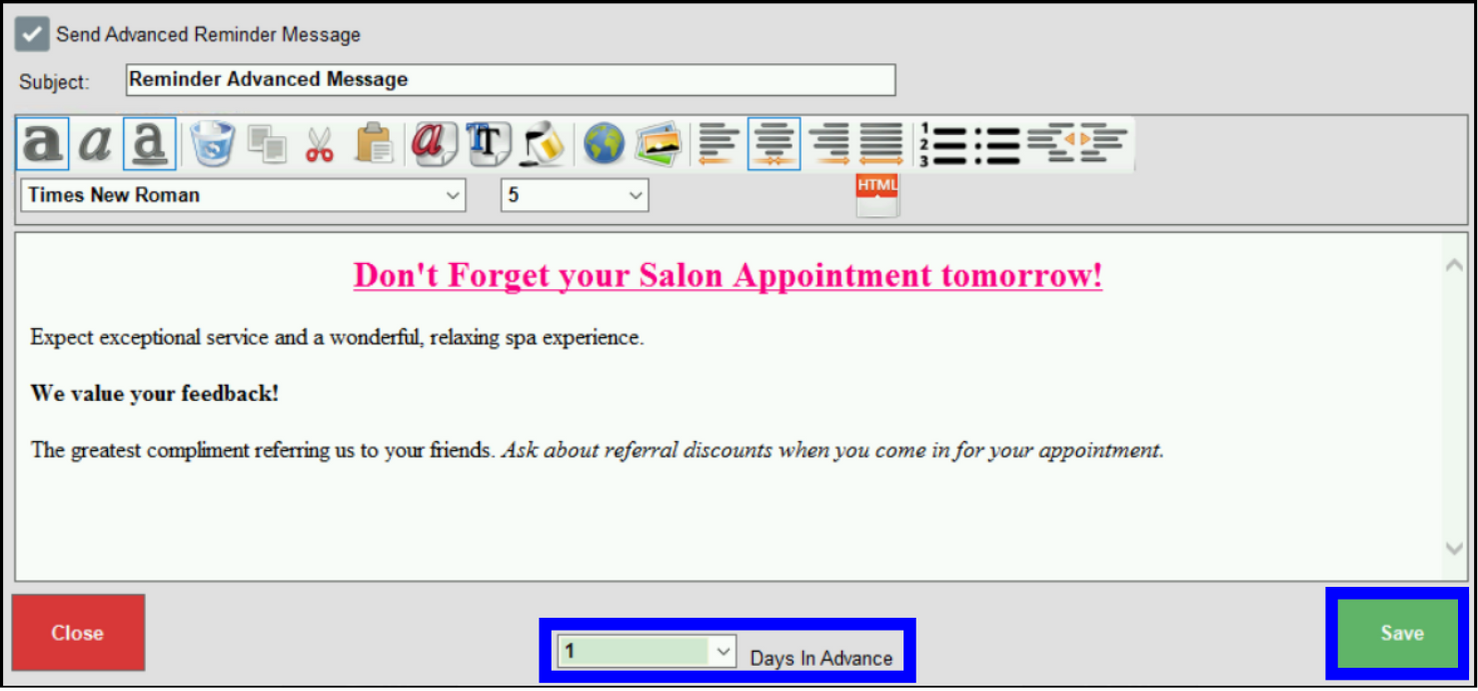
- Select the number of days in advance from the drop-down menu. For example, to send a reminder the day before a scheduled appointment, select “1” from the drop-down menu.
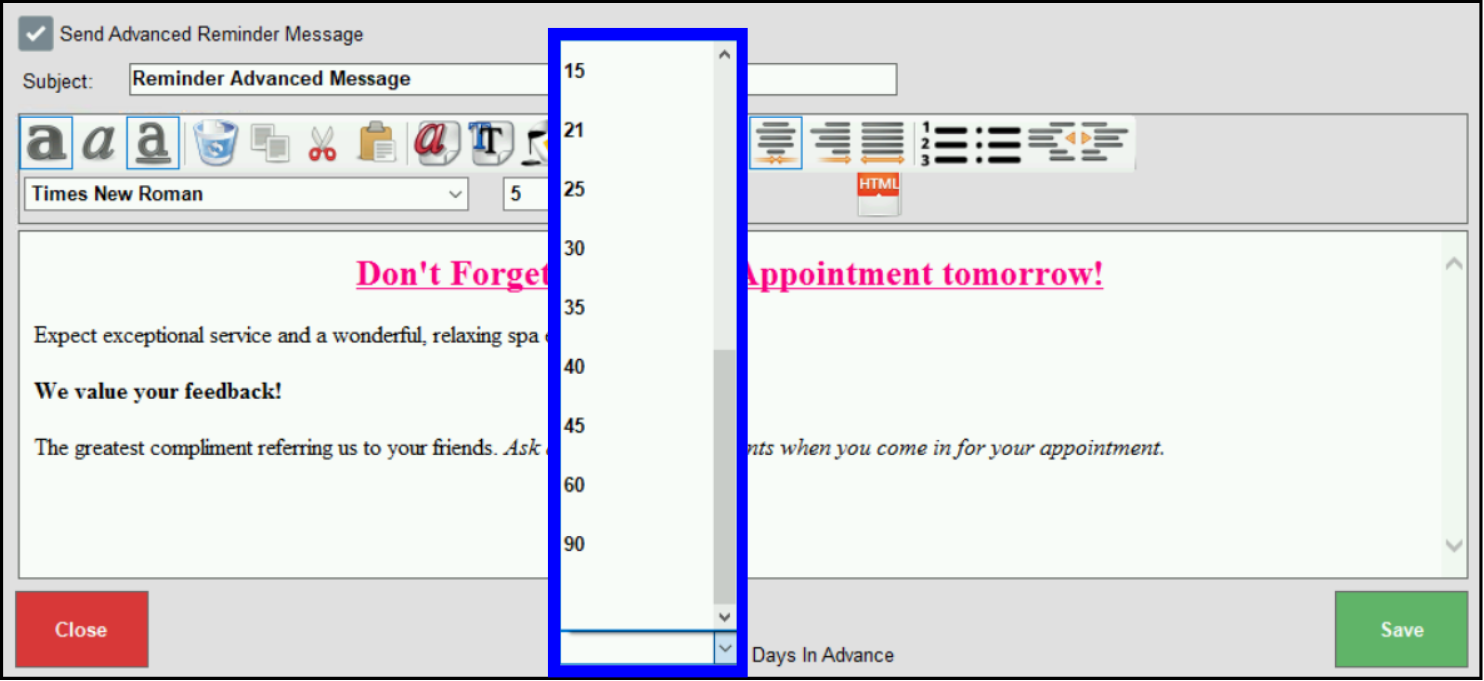
- Tip! Design your message based on the number of days in advance you are sending the message. For example, a message sent one day before an appointment might read: “Don’t forget your appointment tomorrow!”
- Tap Save.
- Tip! Client email addresses are stored in their customer record. Check your client’s Customer Detail page to confirm that you have the correct email address.
 : Use bold, underline, italics options to format message text.
 : Reposition text by using delete, copy, cut, and paste.
 : Add color to your message by using font color, background color, and/or body background color.
 : Insert hyperlinks or images using these buttons. Images can be retrieved from a USB drive.
 : Align message text with justification options: justify left, justify center, justify right, justify full.
 : Add a numbered list or a bulleted list.
 : Use the outdent and indent functions to position text.
 : Select from font type and font size drop-down menus to customize font and size.
 : Tap the keyboard icon to access the keyboard widget.
 : Use the HTML button to insert an HTML snippet.
- Tip! Client email addresses are stored within their customer record. Check your client’s Customer Detail to confirm that you have the correct email address.

How can we improve this information for you?
Registered internal users can comment. Merchants, have a suggestion? Tell us more.