Create Purchase Orders (POs) by selecting items to reorder from a vendor’s list of items.
- Tip! Before you order items using an Exatouch purchase order, link an item to a vendor to populate the list of items for that vendor. Alternatively, add multiple items when you create a purchase order.
-
- From Home, navigate to Purchasing > PO Details.
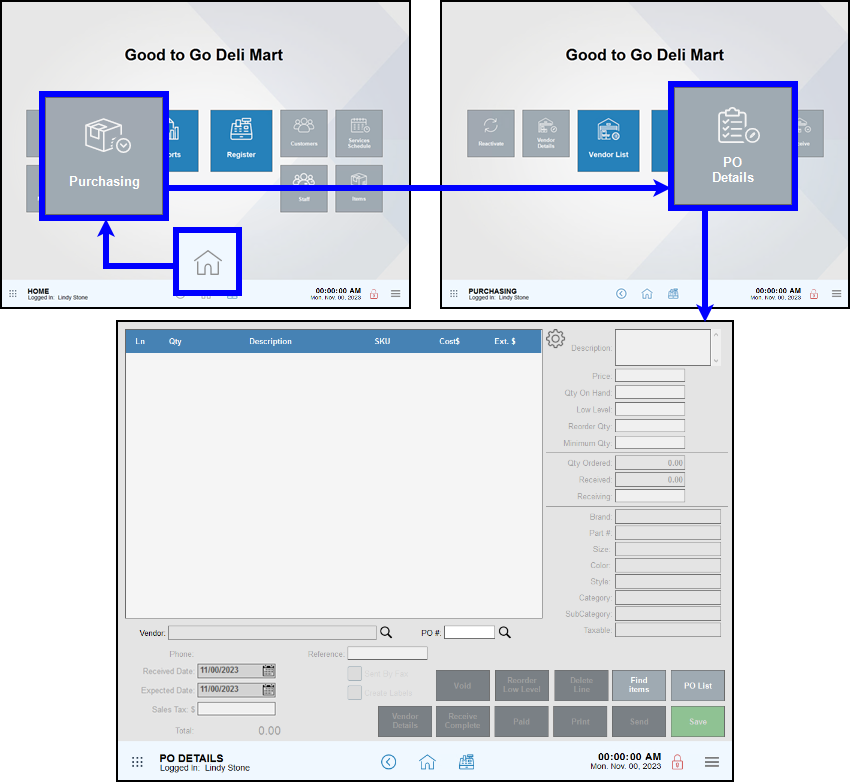
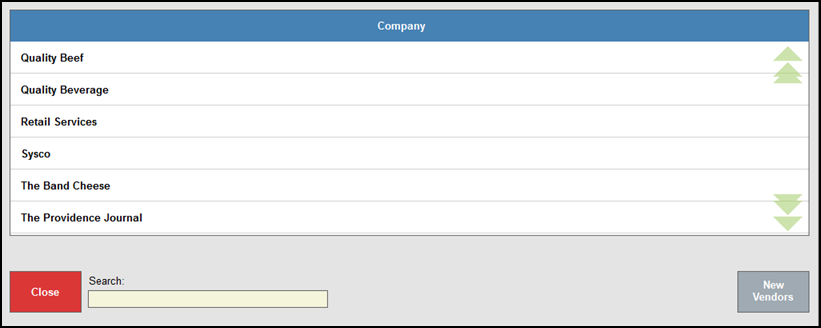
- Start your PO by finding a vendor: Tap the search icon (
 ) to search by vendor name or scroll through a list of available vendors.

- Select a vendor and bring up the vendor’s supply list.
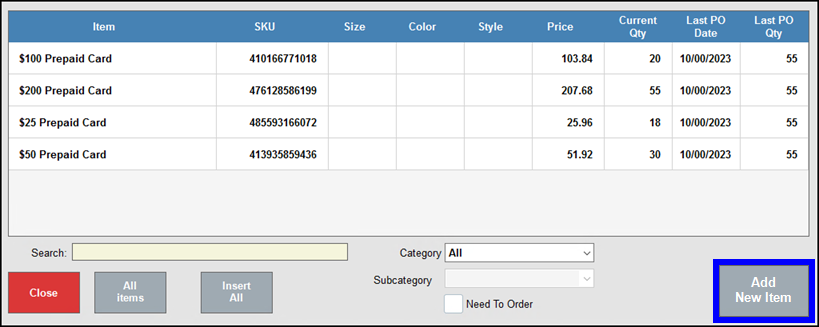
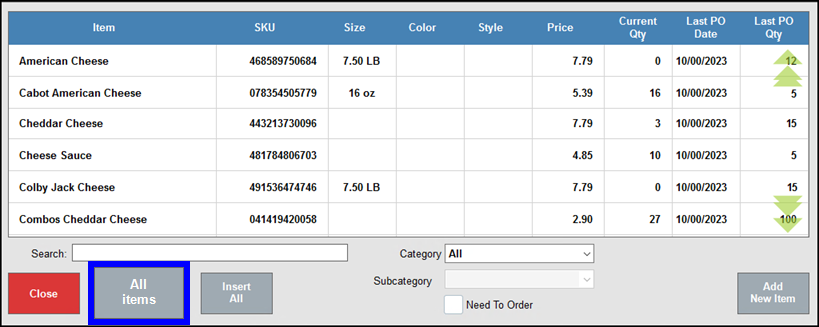
 Tap All items and Vendor items to toggle between items in this vendor’s list and all inventory items.
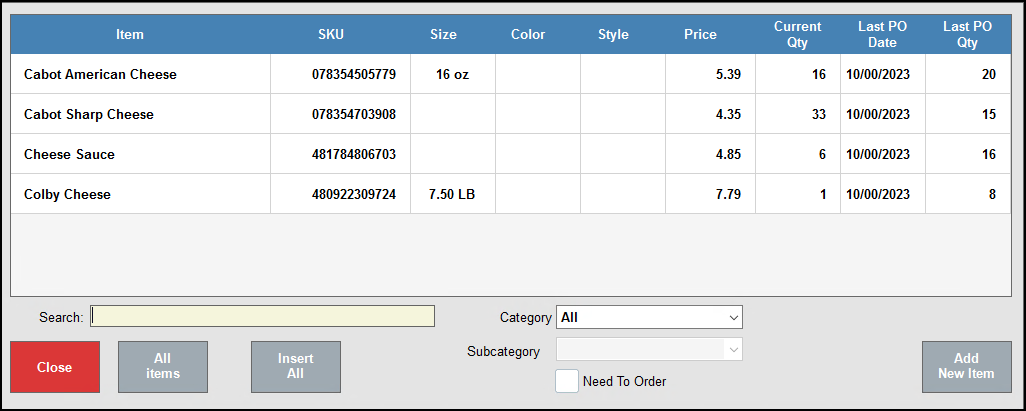
- Tap an item to reorder, or tap Insert All to add to the purchase order.
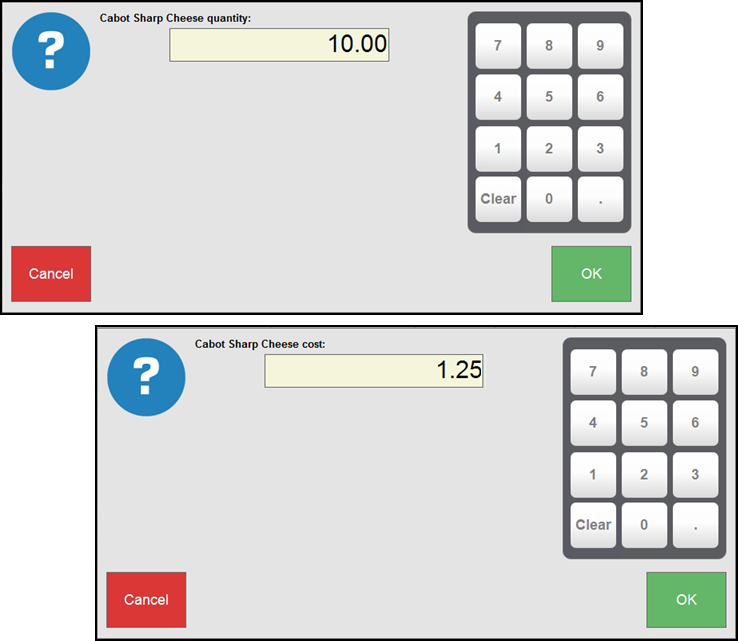
- Accept the default quantity and cost, or edit the suggested quantity (required) and cost (optional) for each item. Tap OK to add this item to the PO.
- Note: Default Quantity and Cost Fields
Edit the quantity and cost fields as needed. Quantity and and cost fields may be populated based on:- Item details: Defined Reorder or Minimum Order quantities. Defined Cost.
- Previous orders: Quantity and cost from the last purchase order.
- Dynamic reordering: Calculated using an item’s Safe Qty, if enrolled. If an item’s Minimum Order Qty is higher than the number calculated by Exatouch, that number is used.
- No previous orders or saved information: Quantity: 1.00, Cost: $0.00.
- Note: Default Quantity and Cost Fields
- From Home, navigate to Purchasing > PO Details.
- Tap Close to close this work area when you’ve added all the items for this vendor to the PO.
- Tap to set Received and Expected dates if needed.
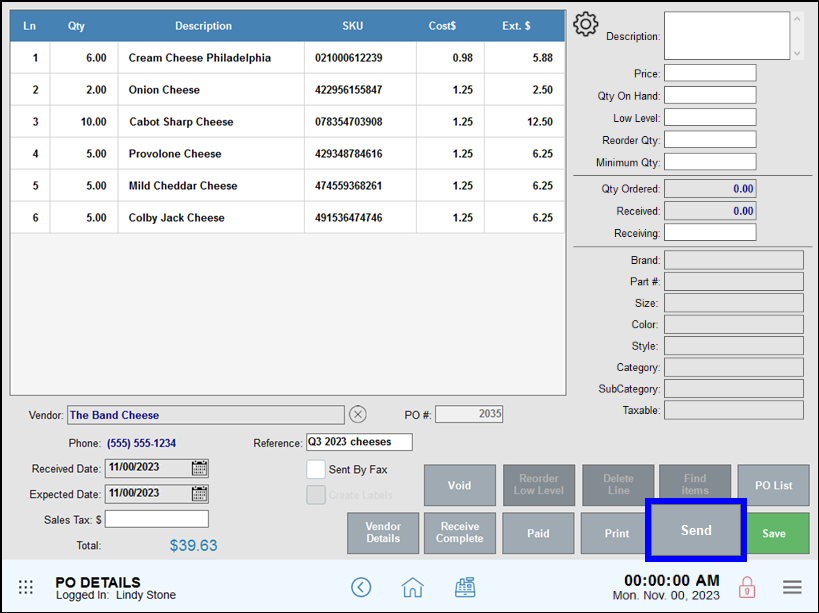
- Enter Sales Tax, if needed.
- Finish up your PO:
- Tap Print to print this PO and change the status to Open.
- Tap Save to save this PO and change the status Open.
- Tap Send, if available, to send this PO to the email address in the vendor record, and change the status to Open.
Many of the work areas you use while creating a PO allow you to perform tasks related to inventory and purchasing. These tasks include:
- Add a new vendor
- Add new items to inventory
- Add existing items to a vendor’s supply list
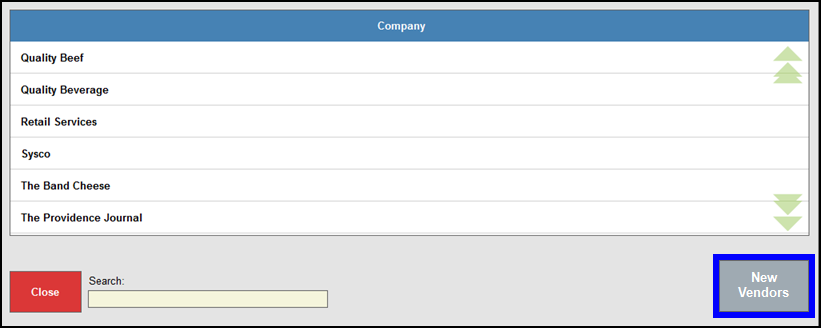
Add A New Vendor
- Example: In this example, add a new vendor to Exatouch.
- Tap New Vendors if the vendor you need isn’t in your existing list.
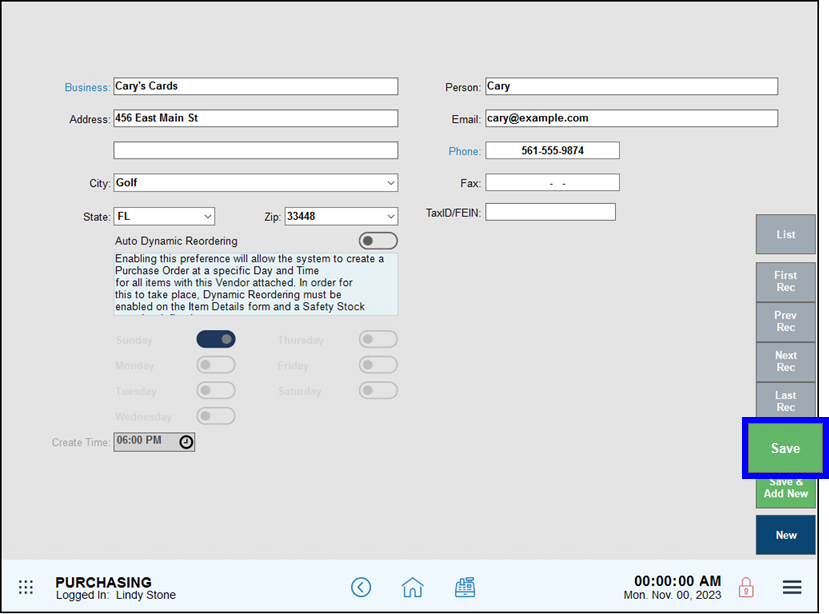
- Add your new vendor’s information, then tap Save to save your changes. This adds the new vendor to your vendor list.
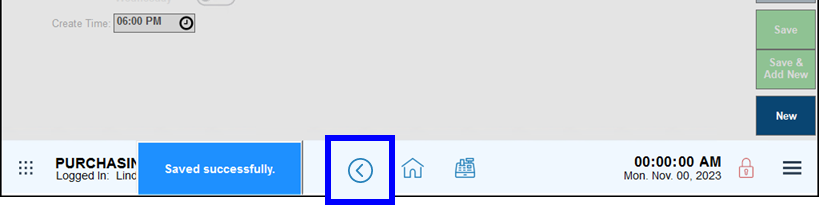
- Tap the back arrow to return to the purchase order work areas and complete your tasks.
Add New Items to Inventory
- Example: In this example, add a new item to inventory and the vendor supply list.
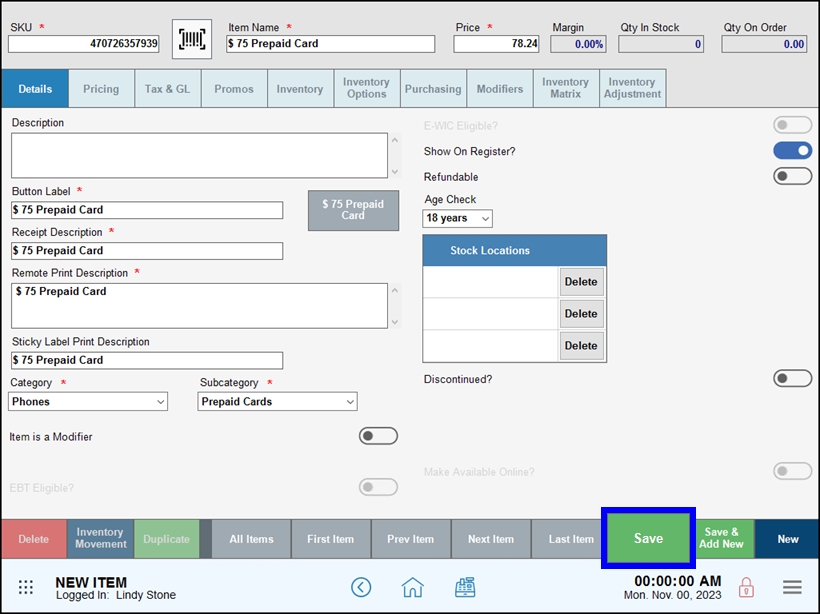
- Tap Add New Item to add a new item.
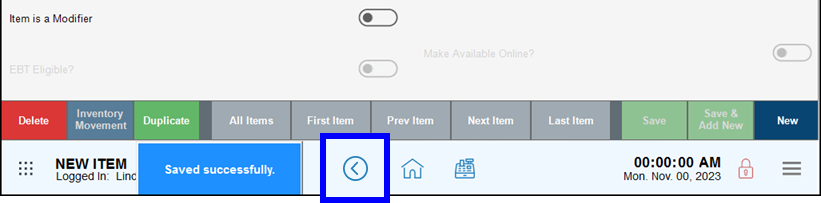
- Add your new item’s information, then tap Save to save your changes. This adds the new item to your inventory and links it to the selected vendor.
- Tap the back arrow to return to the purchase order work areas and complete your tasks.
Add Existing Items to a Vendor’s Supply List – Empty Supply List
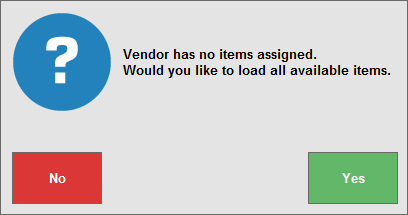
If you select a vendor with no items on their supply list, you are prompted to load all items. As you add each item to the purchase order, you add it to this vendor’s supply list.
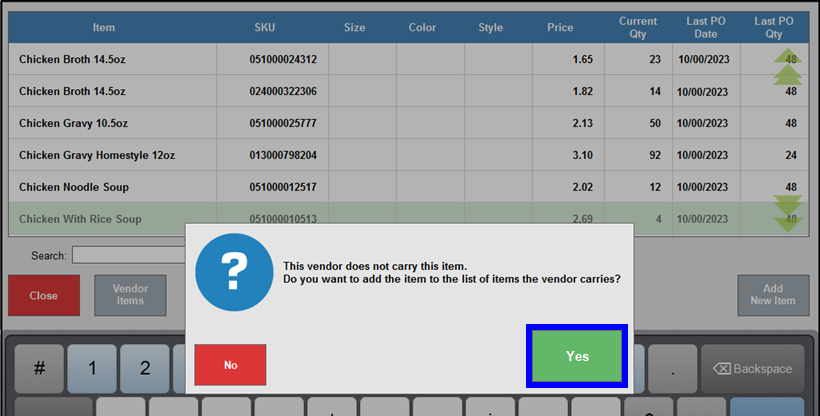
- Example: In this example, add soup to a vendor that has no items on their supply list.
- Tap Yes to load all items.
- Select an item and tap it to add to the purchase order. Tap Yes to add it to the purchase order and vendor’s list of items.
- Continue adding items and complete your purchase order tasks.
Add Existing Items to a Vendor’s Supply List – Partial Supply List
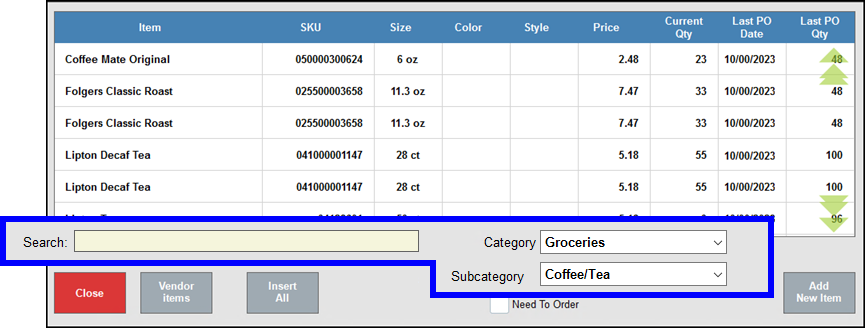
- Example: In this example, add coffee to a vendor supply list.
- Tap All Items to switch from the vendor’s supply list to a list of all items in your inventory.
- Use Search to narrow the list, or use Category and Subcategory to narrow the list of items shown.
- Select an item and tap it to add to the purchase order. Tap Yes to add it to the purchase order and the vendor’s list of items.
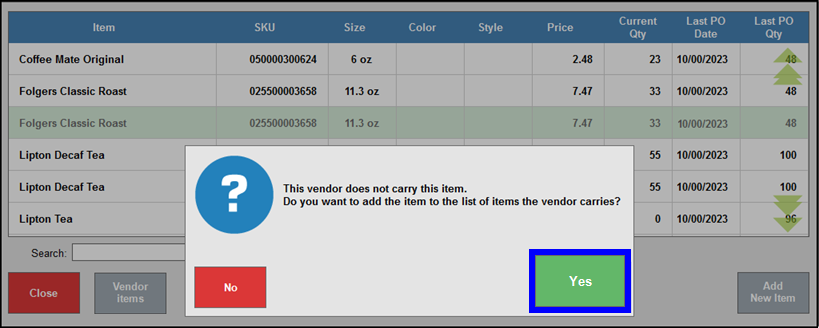
- Continue adding items and complete your purchase order tasks.
How can we improve this information for you?
Registered internal users can comment. Merchants, have a suggestion? Tell us more.