(NOTE: THIS ARTICLE HAS BEEN MOVED TO THE “REASSIGN” AND “TAKE” SERVER ORDERS ARTICLE. YOU WILL BE REDIRECTED.)
Tables with orders attached can be reassigned to another wait staff member.
Tables are reassigned on the floor plan.
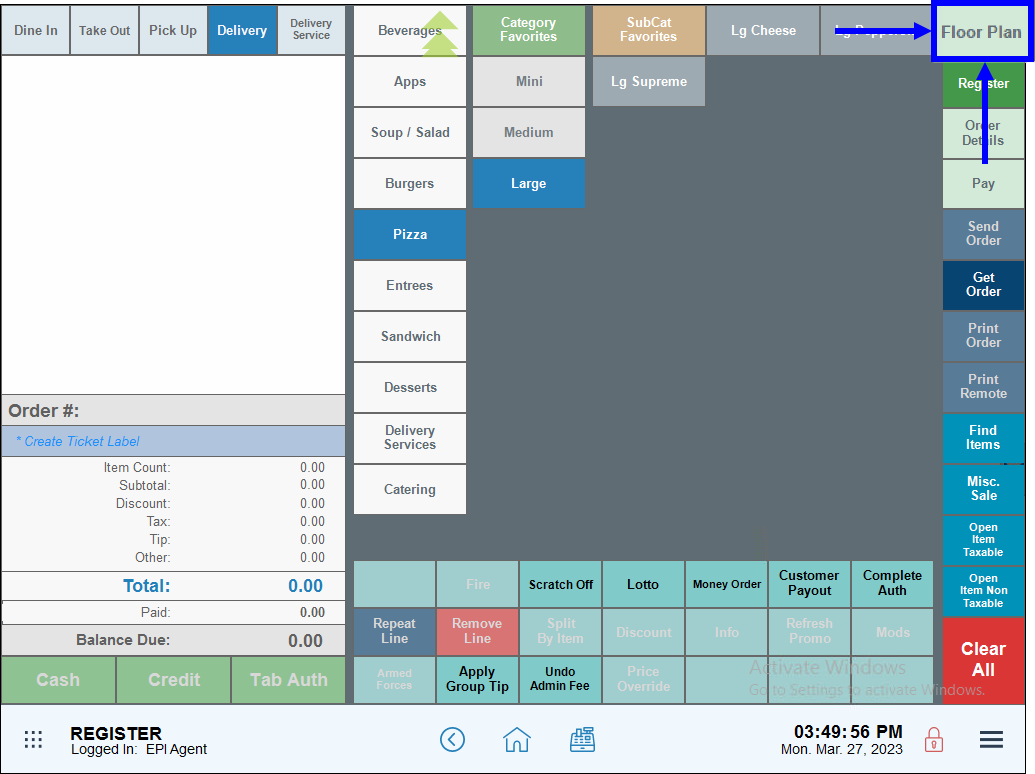
- Navigate to the Register and tap the Floor Plan tab.
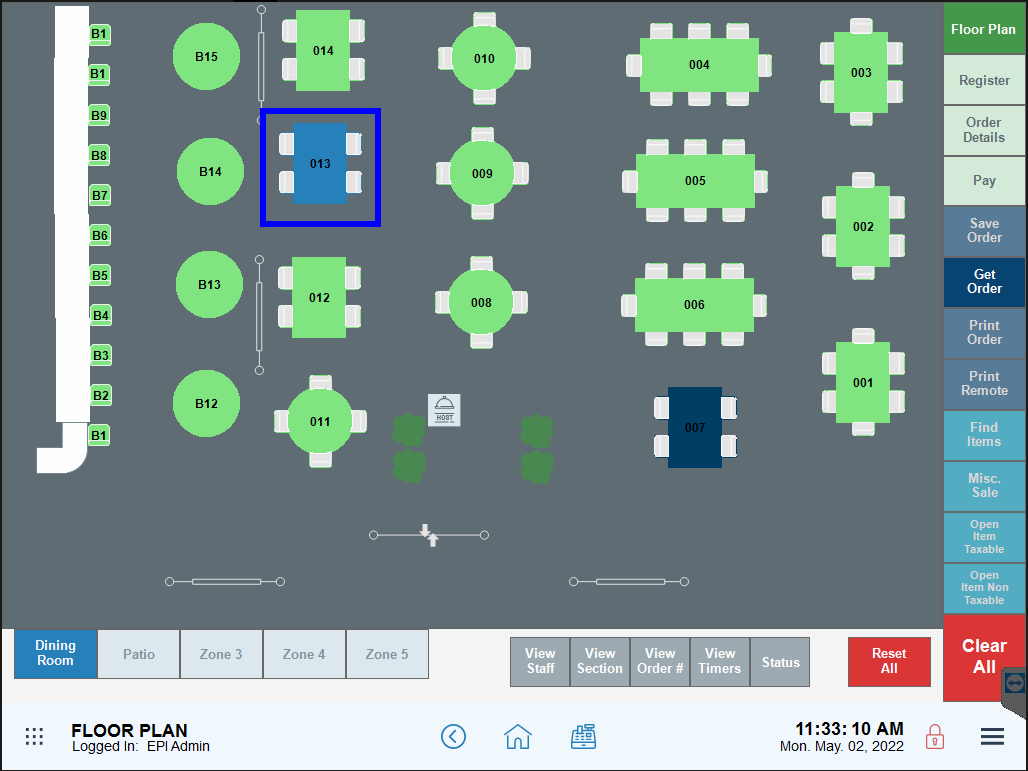
- Select a table with an active order attached. Tables with active orders are colored blue by default.
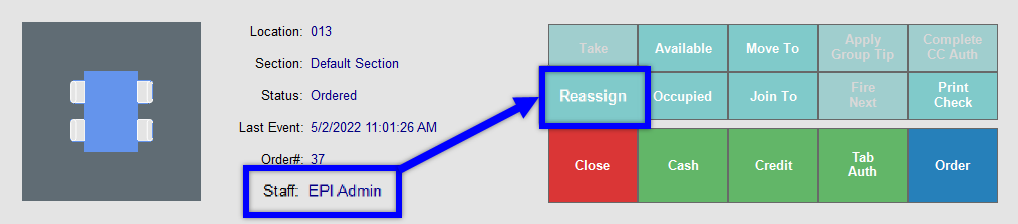
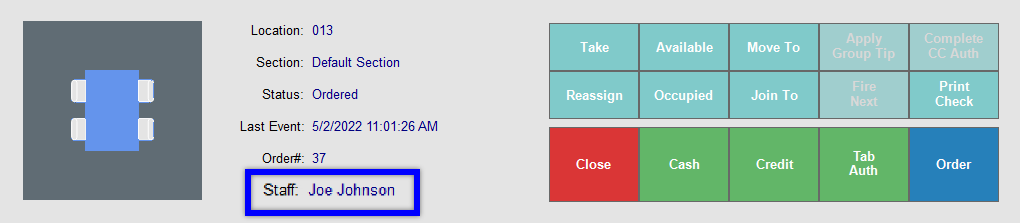
- Note the current staff assignment, and select Reassign.
- Choose the name of the employee you wish to reassign to. Use the search field to narrow your search.
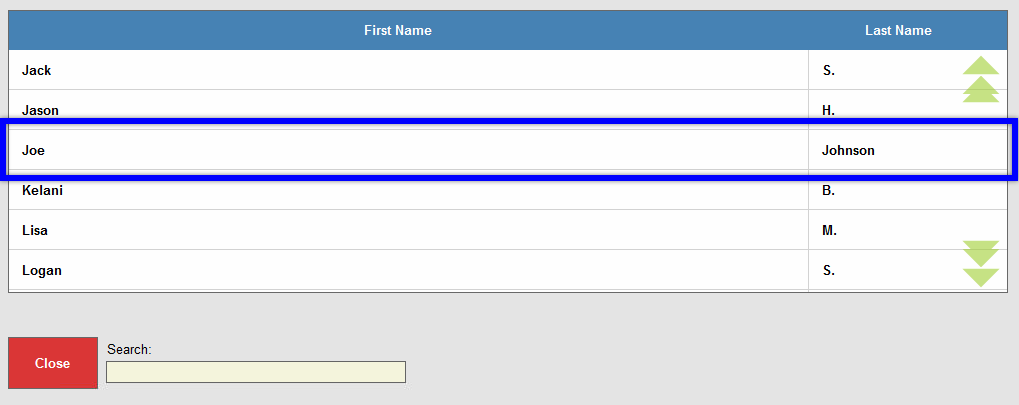
- Tip! Check your work! Tap the table and check the “Staff” assignment to confirm that the table has been reassigned.
How can we improve this information for you?
Registered internal users can comment. Merchants, have a suggestion? Tell us more.